Using the power of Microsoft Word

How often is it that we take tools that we use every day, like Microsoft Word for granted. We think of word as a simple word processor, and use it largely to create text documents. However, with a little expansion of basic skills and knowledge of some of the more advanced features of Microsoft word, a pretty complex document can be created.
This article then, is a tour of some of the more advanced functions of word and how to use them. For our example, I am going to create a multi-colored flyer.
Following are the steps:
1. Open a new blank word document, and before you forget, save it under a new name.
2. Adjust the margins: The first thing I am going to do is adjust the margins of my document so that I can use the entire page. In other words, I am going to set the margins to zero. To do this:
a. go to the top of the screen, and click on Page Layout as shown below

b. then, on the top left, click on margins as shown below
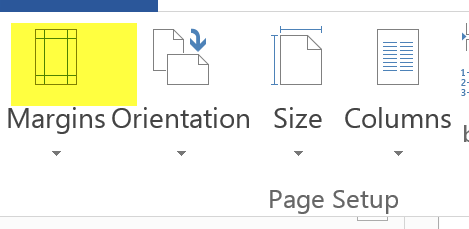
c.Then click on custom on the very bottom of the popup window, as shown below
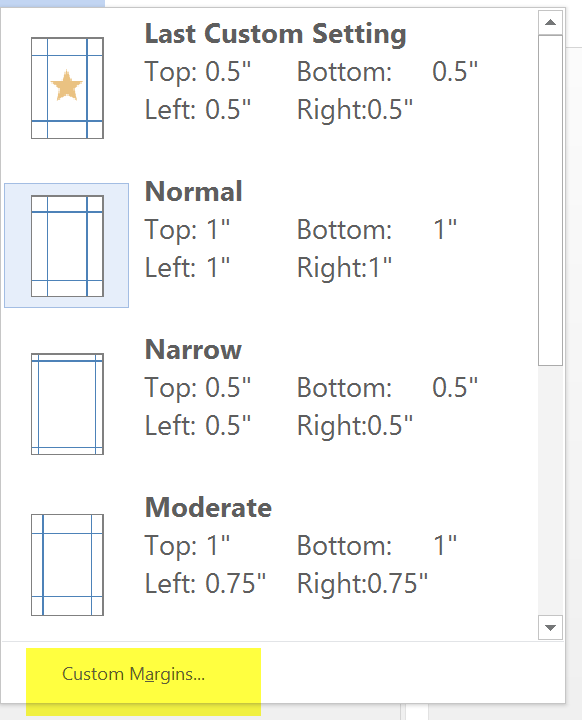
d.And change all of the margin settings to zero as shown below:

e. And click OK at the bottom of the margin sizing popup window. Another popup will appear letting you know your document is outside your printer parameters, as shown below… go head and click ignore here.

f. And your new margin setting will be set. To check, look at the tab margin slider indicators at the top of the screen at the ruler, and you will see they are all the way over.
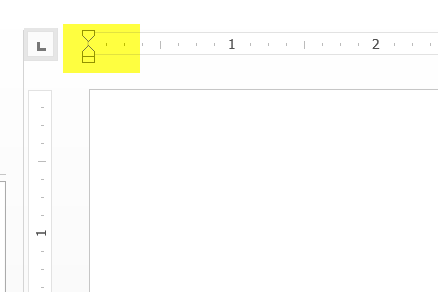
Note you could have also just gone to these individual sliders, and slid them all the way over to the edge to accomplish the same thing.
3. IMAGES: Now I am going to insert an image at the top of the document that I want to span across the entire width of the page. To do this:
a.Go to insert at the top of the document page and click – see below:

b. When I click on insert the word insert menu appears – showing all the things I can insert:

c. I click on pictures and a window will open letting me choose where I want the image to be uploaded from. Choose to upload your image from where you have it stored, or alternatively, if I have copied an image, I can just click paste and the image will be placed in my flyer document, as shown below:
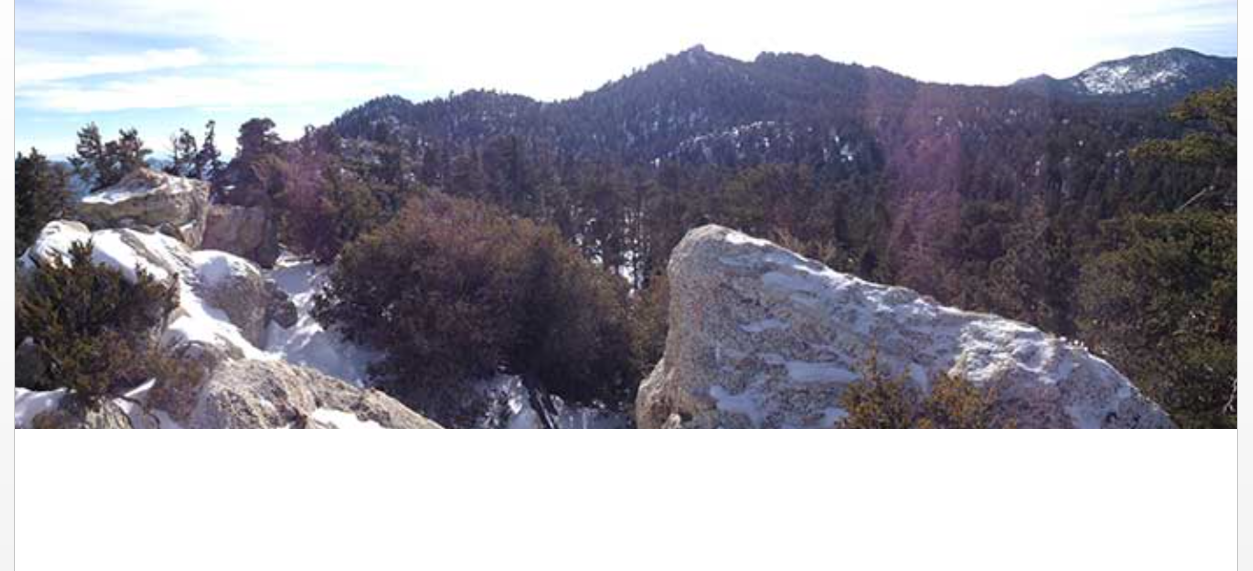
d. Now – here is where the fun comes in…. in being able to play with the image: If you click on the image, you will see the format tab highlighted as show below
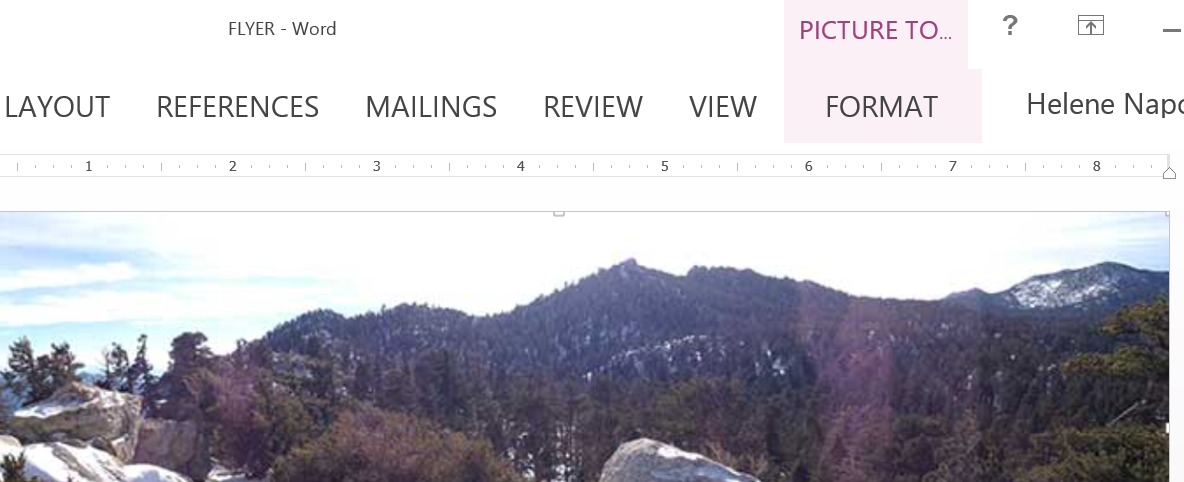
e. Cllick on the format tab and the image formatting options appear as shown below – the first we are going to choose is wrap text:

f. Click on wrap text, and then, from the drop menu, choose through. This will immediately give you the option to move this image anywhere you want on the page. If you do this with all images and objects you place on the page including text boxes, this lets you have complete control over placement on the page. You can overlap them, put text on top of images, put images on top of each other, etc.
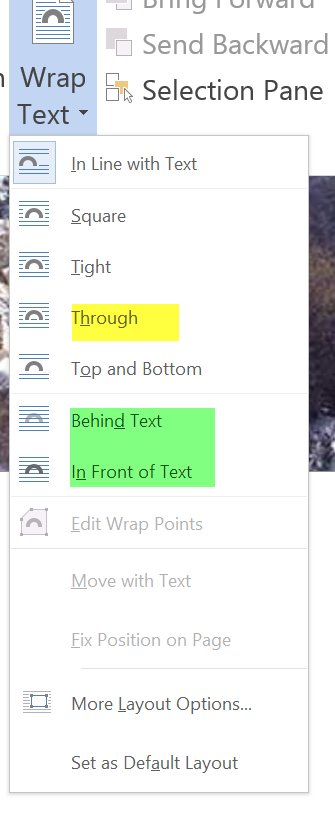
g. So, now if I add another image, choose wrap text, and through as format setting for it, I can place it anywhere I want on the page just by clicking on it and dragging it where I want it. And I can choose if I want it on top of the other image or behind it as well.

Here is what my flyer looks like now:
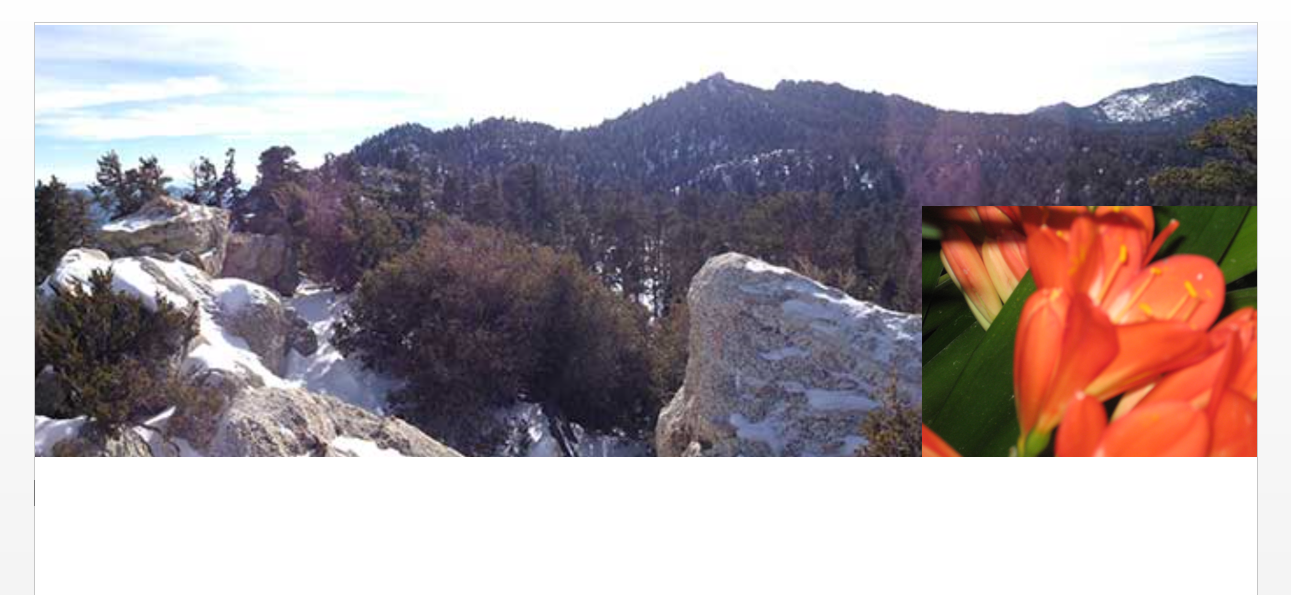
Note that there are many picture editing capabilities within word – you will see them by clicking on the format tab. You can play with color, special effects, etc. I recommend playing with these feature so you know what they do.

4. TEXT: Now I am going to add some text to this flyer. To give me the most flexibility, I will click on insert again, and then from the options choose text box over to the right of the screen.
a. Click here and the menu opens up. I always choose draw text box to give me maximum flexibility in where I want the text box:
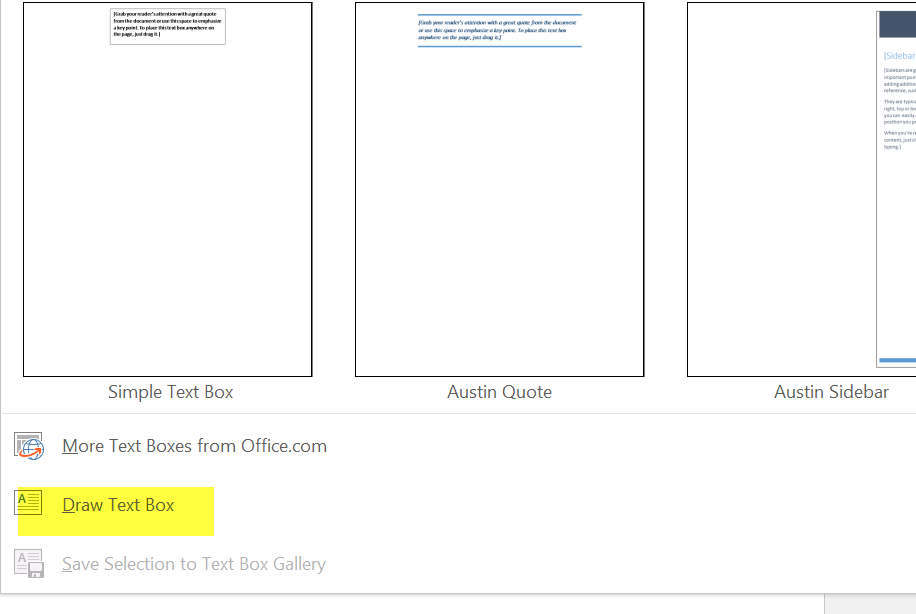
b. Choosing draw text box, now I can place the text box in my document just by dragging my cursor:

c. Now the cursor is sitting in my text box and I can type the text I want, and then change the color and font style and color of that text just s I would for any normal word document text. Here is what my text box looks like now:

d. Now I might want to change the background color of my text box, or get rid of the outline – or change the color, etc. If you click on your text box, the format tab is highlighted again, and if you click on the format tab, your format options open up for your text box, as shown below:

My suggestion is that you play with these options as well, so you know what they can do.
Here is what my flyer looks like now after I have played with some effects on my text box:
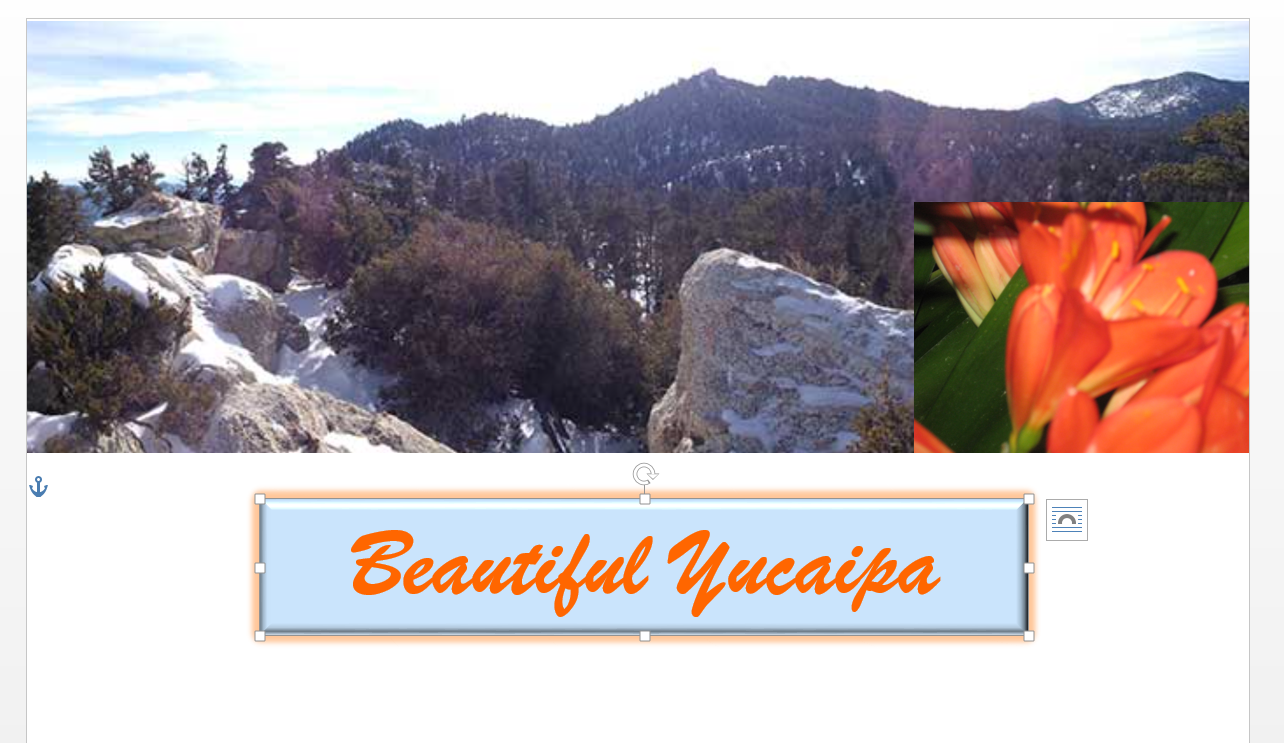
e. Don’t forget to click on your text box and format and then wrap text and through to allow you to position your text box wherever you want it on the page.
As a matter of fact, I am going to drag my text box up to the middle top of my image.
Here is what my flyer document looks like now:
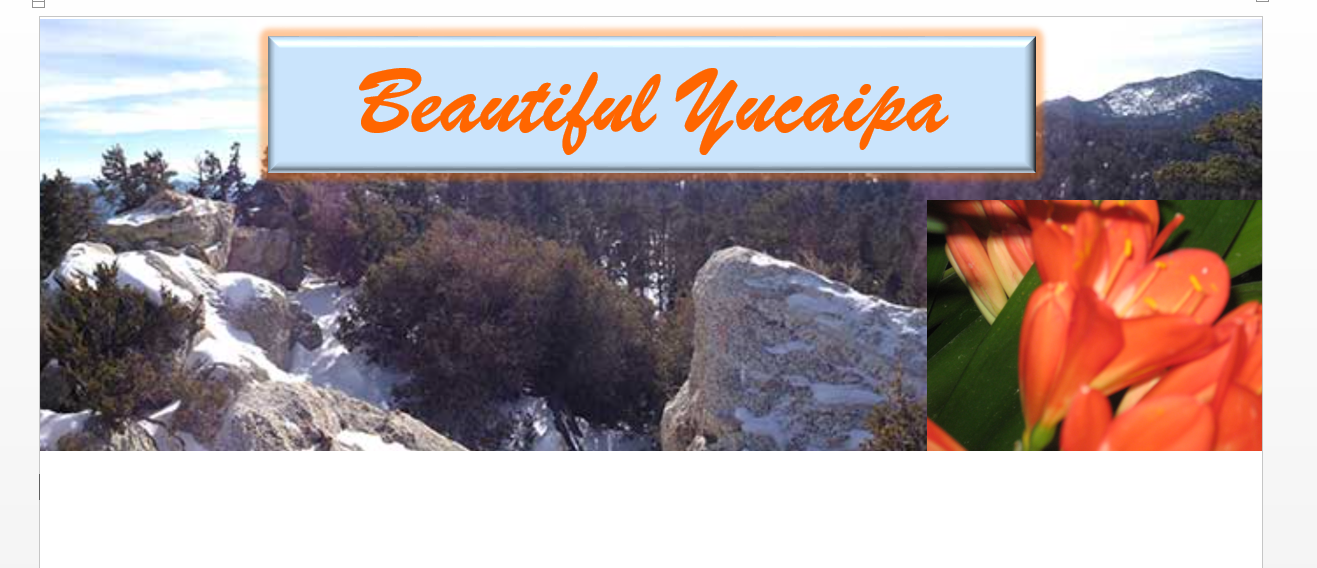
I can now go on, and add more text and images to this flyer document, making it eye-catching ad appealing. As you can see, without getting very complicated, I can create a beautiful document, flyer, invitation, etc. using Microsoft word. Are you proficient in word and the other Microsoft tools? If not, think about getting some training to enhance your skills and productivity, and even save yourself or your company money.
Posted in Blog on Nov 28, 2015
Subscribe to newsletter
Got questions? Ask them!
Related posts
- Why Microsoft Word and Excel Certification Courses are Beneficial
- Basic Indispensable Skills for Back to School Moms
- Typing Certification Requirements for State clerical positions
- Basic computer skills required for a job
- Using PowerPoint To Make a Movie